Showing posts with label Quilting. Show all posts

Monday, February 6, 2012

Quilt initiation! YEIKS!

Hello all!!!!!!!!!

I thought I would have my first post be about the first quilt I made!  Talk about a learning experince!

My wonderful mother gave me a kick in the rear to make a quilt after telling me there were only so many times she could fix the quilt my Grandmother had made me. So, I decided that I would have her teach me how to make my own quilt that I could use on a regular basis and retire my special Wedding Ring pattern quilt to keepsake status.

The “adventure” started with a trip to the local craft store to buy fabric. This is my favorite part! I LOVE picking fabrics for my quilts!! Apparently this is a great skill I got from my Grandmother :-) I picked 6 fabrics with a aqua-green and chocolate-brown color scheme in an attempt to match the ridiculously expensive bed set that I had…but of course didn’t use. (That will be a topic for another post!) They were BEAUTIFUL! We checked out and headed home to start sewing….or so I thought! Here is where the lesson really started! I learned that all the fabric needed to be washed, dried, and ironed before anything else could happen. I was geared up and ready to rock out a quilt and I had to wait for laundry?!?!?! YES! my mother said! So….I waited for the laundry and then ironed my lovely fabric later that day. This is my second favorite part :-) I’m weird I know, but there is something relaxing about ironing quilt fabric!
20110620-022101.jpg

With all the material ready it was time to cut. This is my least favorite part because the more precise you are here the easier it is when you start sewing. (I recommend doing what I did if you are not a good cutter and find a friend who is! Love you Jaime! :-D ) I had the cutting mat and rotational cutter all set up and folded my fabric to cut the ends off first. This is important because the ends are there to keep the fabric from stretching before it is used and it will sew differently than the rest of the fabric if you don’t cut it off. Thankfully it is usually no more than half an inch on the end!  Once I had the ends off I set out to cut my 8 inch blocks.

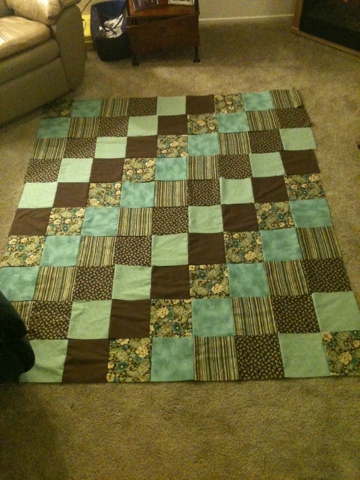
With all the blocks cut out it was TIME TO DESIGN! This part can be difficult if you aren’t patient with yourself. Take some time to look at patterns and see different layouts so you have somewhat of an idea of what you want and then leave room for your special spins on them! I took my blocks and laid out 3-4 different designs before deciding on the ONE! (At this point I was a day and a half in and hadn’t sewed 1 stitch! Talk about learning patience for the correct process!)

Then my mother gave me an amazing gift!!! She took me down and bought me my first sewing machine!!!!!!!!!!!!!! I’m not sure what it was, but I had such a sence of power having my own sewing machine! Like there was nothing I couldn’t make or fix if I really had to! It was great! Then she bid me farewell and sent me out to start sewing! The block quilt was a great pattern for a first quilt because it’s easy and there aren’t a lot of little pieces. I sewed each block into their rows with 1/4inch seams and then sewed the rows together. It was so exciting having the top done!
20110620-022150.jpg

With the top done we then went and bought “the filling” :-) and material for the back. Then we laid everything out on top of each other and safety pinned it together so the “quilting” could begin! I started in the middle and quilted (by hand) to the edges. It did take a few weeks, but I found that I enjoyed hand-quilting! It was nice to have something to do with my hands while watching tv in the evenings and is also a great way to keep warm having it on your lap!

Then before I knew it I had my first quilt!!!!!!!!!!!! And I was able to share my excitement with my friends and then THEY were inspired to learn how to make a quilt! That’s where this adventure really started! :-) Through this experience I learned things about my Grandmother I never knew and was able to feel a connection to her. I have memories of learning from my mother that I will keep in my heart always. Most importantly I gained knowledge and the amazing feeling of starting a project and then finishing it! It gave me confidence to start trying other things!  Like knitting! And Crocheting! 

20110620-022300.jpg

--Elaine

Friday, January 27, 2012

Quilting Part 2 (The 10 Minute Quilt Blocks)

The best kept secret in quilting gifts is Suzanne McNeill's 10 Minute Quilt Blocks.  I made 3 different versions of this quilt for Christmas this year.  Ms. McNeil put together a very good tutorial here:  http://www.youtube.com/watch?v=ZbTHlGGKMPM&feature=youtube_gdata_player

I tweaked her patterns a little bit for my quilts.  The first one that I did was a king sized quilt for my brother and sister-in-law (I heart you, Dave and Chy!).


I used the Birchtree Lane Collection from Connecting Threads for this project.  I ordered 5 layer cakes from them (knowing that there were 19 squares per layer cake).  I then ordered 11 yards of one of the prints for the middle squares, border, and back.  I also got two yards of a dark brown fabric for the binding .


The first step to this quilt was to divide my layer cakes into like color groupings of 4.  I picked blue, green, latte, and dark brown as my groupings.


I cut 3 yards sections for the back and then cut 6.5 inch strips from one of the 3 yard sections longwise for the border.  The last yard I used to make 20 10in squares for the middle of each grouping.  I really like the look of having matching middles and borders to all of my squares.  I make this quilt 4 blocks by 5 blocks making the final measurement for this quilt 107" x 88".  Since this was a king sized quilt, I sent it off to be machine quilted by a friend, since there is no way my machine could accommodate it's size.

The best thing about these quilt blocks is that they make really cool seasonal quilts.  I made a Christmas quilt out of fat quarters.

Christmas Throw

I bought 2 sets of 5 coordinating fat quarters from Joann's.  Because I couldn't cut 10 inch squares from the fat quarters, I cut 9 inch squares instead.  I cut 4 squares from each quarter and then cut a 3 inch strips from the remaining part of the quarter for the border.   I bought a yard of fabric for a 6.5 inch border 3 yards of fabric for the back.

After much consideration and laying out different combinations I decided to put them together in 2 different blocks and again use the same color on each of the middle diamonds.  In laying out the quilt it is very important to check and see that the patters on the fabric is laid out in different directions, especially with dramatic stripes.


The greatest part about this throw was that I spent under $20 to buy the fabric and I used leftover batting from another project.  I put the entire quilt together, including the binding in one weekend.  For binding on this quilt, I used the leftover 3 inch strips and sewed them together in a patchwork pattern, making sure that each of my angles went in a different direction.


For the quilting, I decided that this quilt was small enough to sew on my machine.  I used clear thread on the top and green thread on the bottom and sewed diagonally thorough all of my squares making a fun pattern on the back!


Cheers!  Jaime

Monday, January 23, 2012

Quilting Part 1

This year past year for Christmas, I decided to hand make all of the Christmas gifts that I would give to people. It was a HUGE undertaking!!  My list of gifts was long and distinguished.

I made quilts, dishcloth and scrubbie sets, Ginger Peach Jam (with Christy), Peach Brandy, and knitting needle cases.  While making everything took time, I really enjoyed the process of hand making things for the people I love most in the world.

My favorite quilt that I made was for my parents.  I used the Daisy Chain pattern from Jelly Roll Quilts by Pam and Nicky Lintott.


I used the Moda Fabric Line of Pom Pom de Paris by French General for the fabric.  It took 2 jelly rolls to make this king sized quilt. 


I modified the pattern in Jelly Roll Quilts by Pam and Nicky Lintott to accomodate the king size of this quilt, using 2 full jelly rolls and 8 blocks x 8 blocks. 
I also added a 5 inch border of my main cream colored fabric as well as a 5 inch border of Pom Pom de Paris yardage. 


Happy Quilting!


Monday, November 28, 2011

Happy Belated Turkey Day!!


Perhaps it is because of the long weekend of shopping and overindulgence, but I have a strong desire to listen to Queen sing christmas songs all day and quit my job.
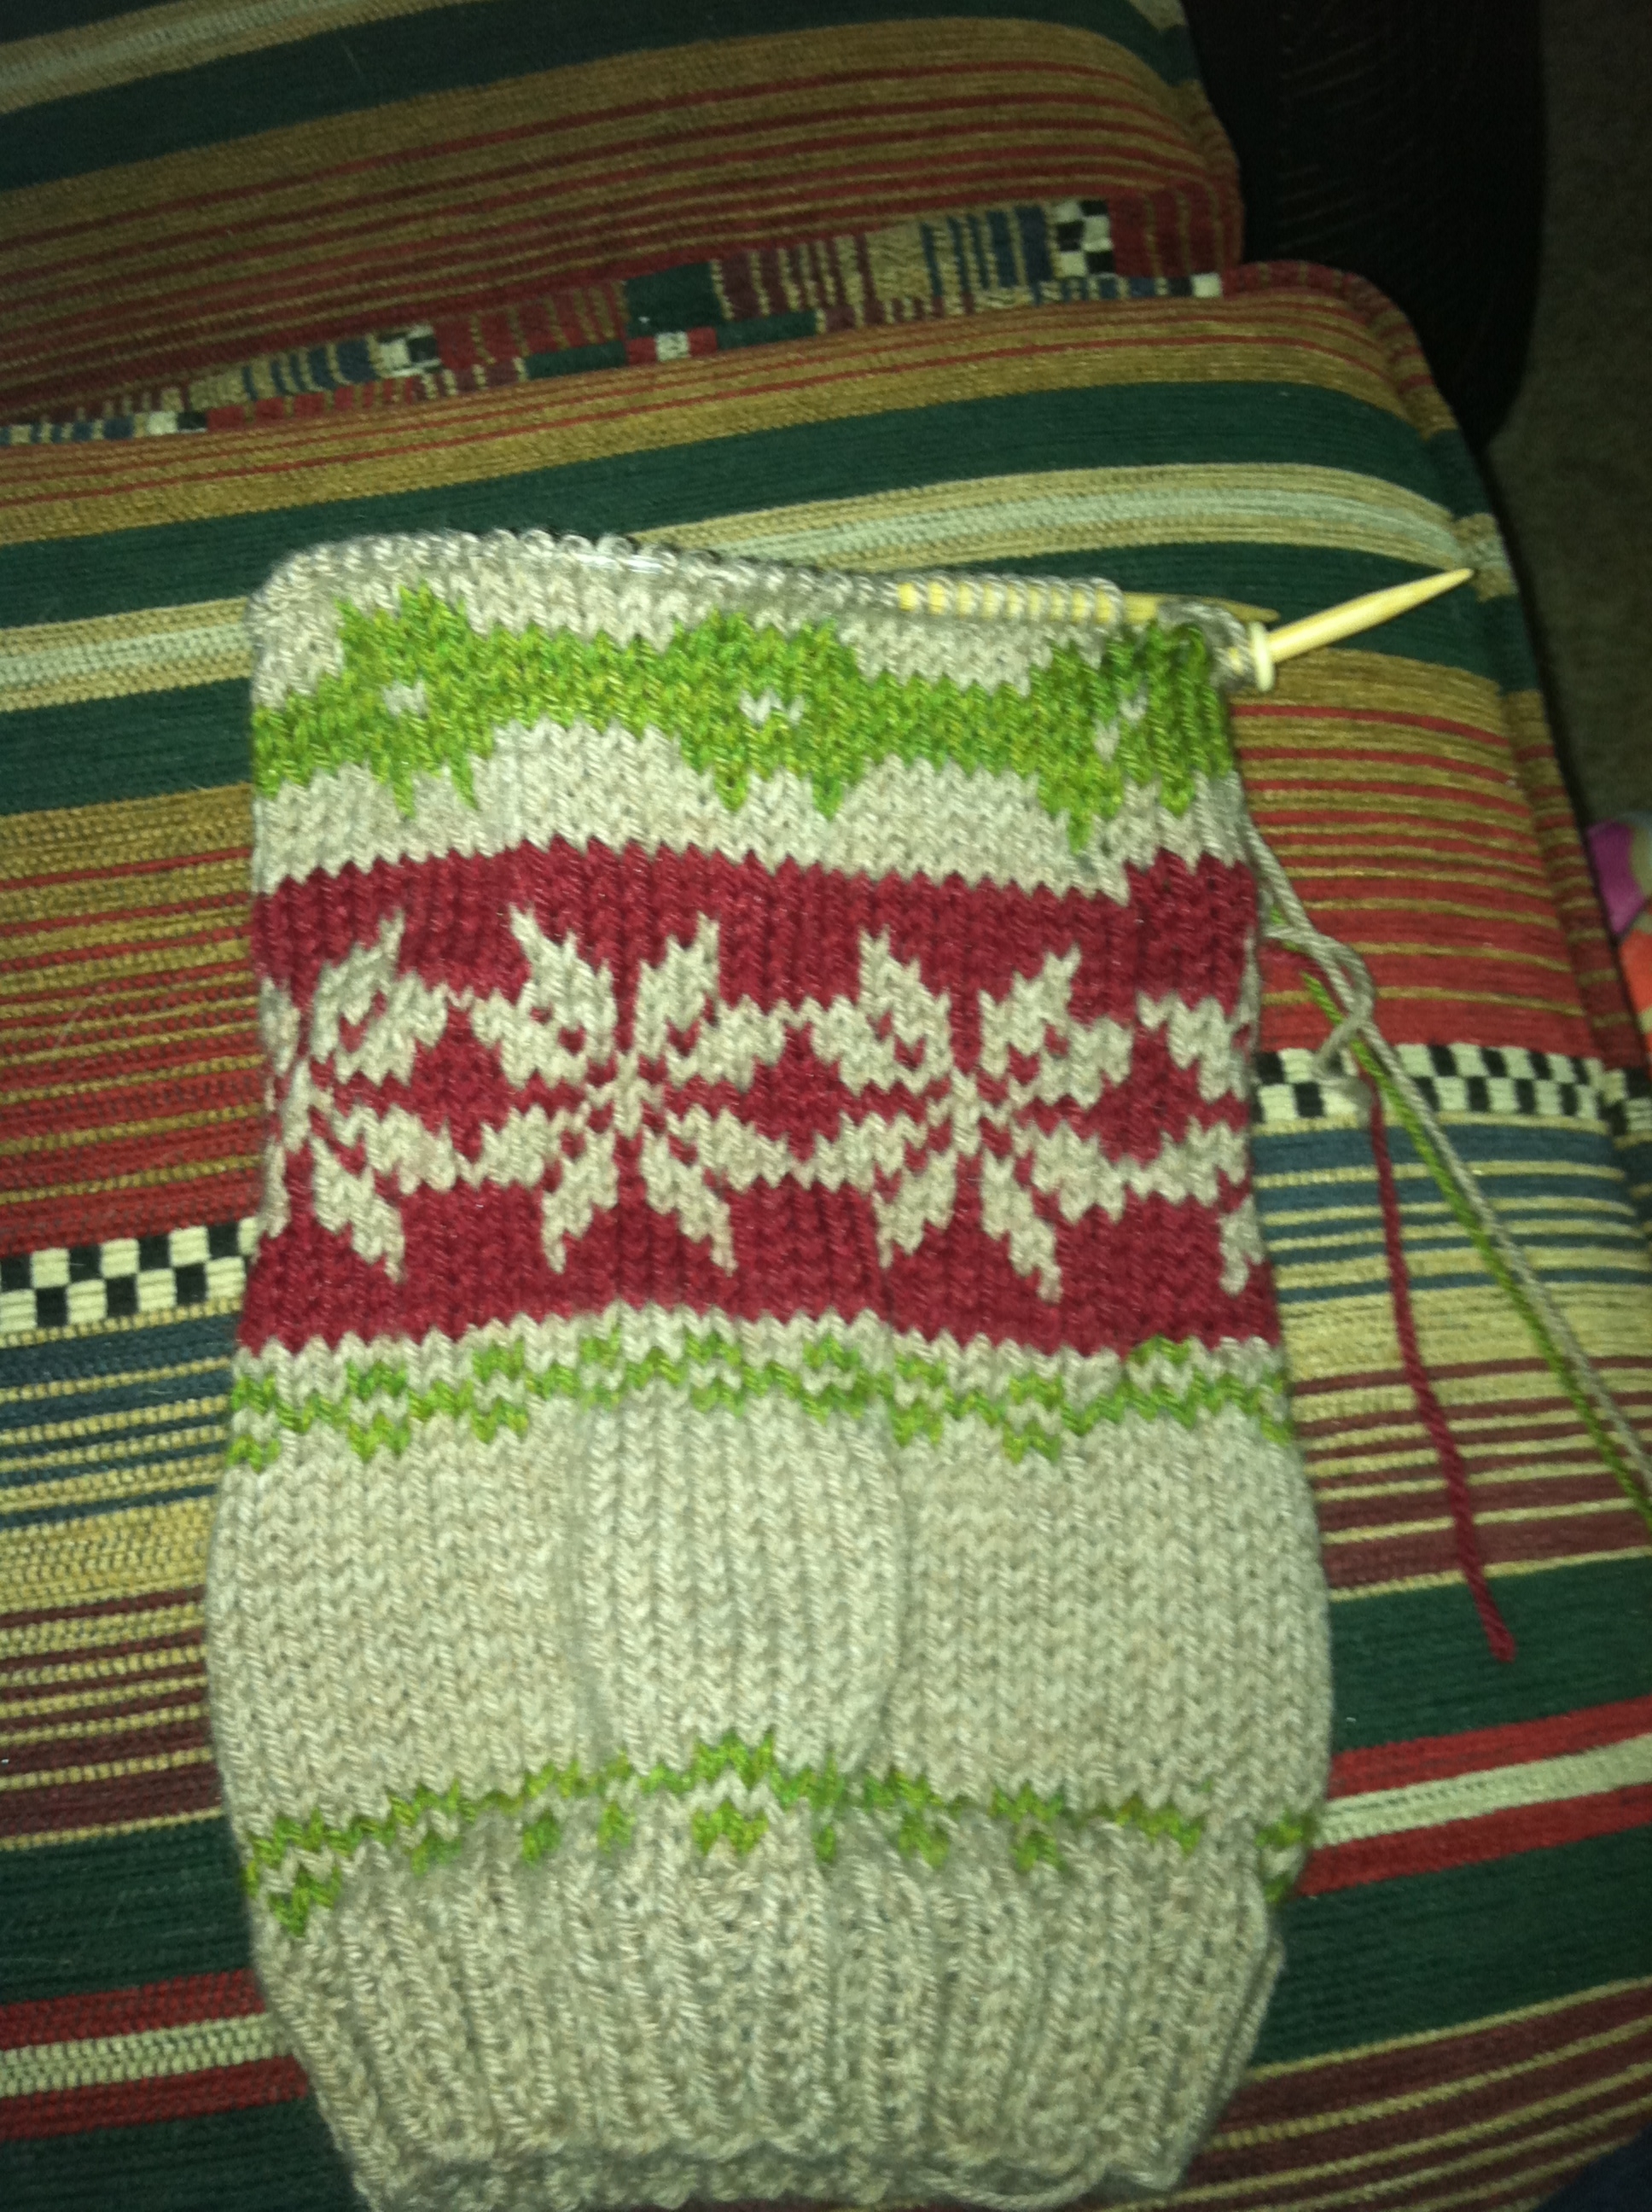
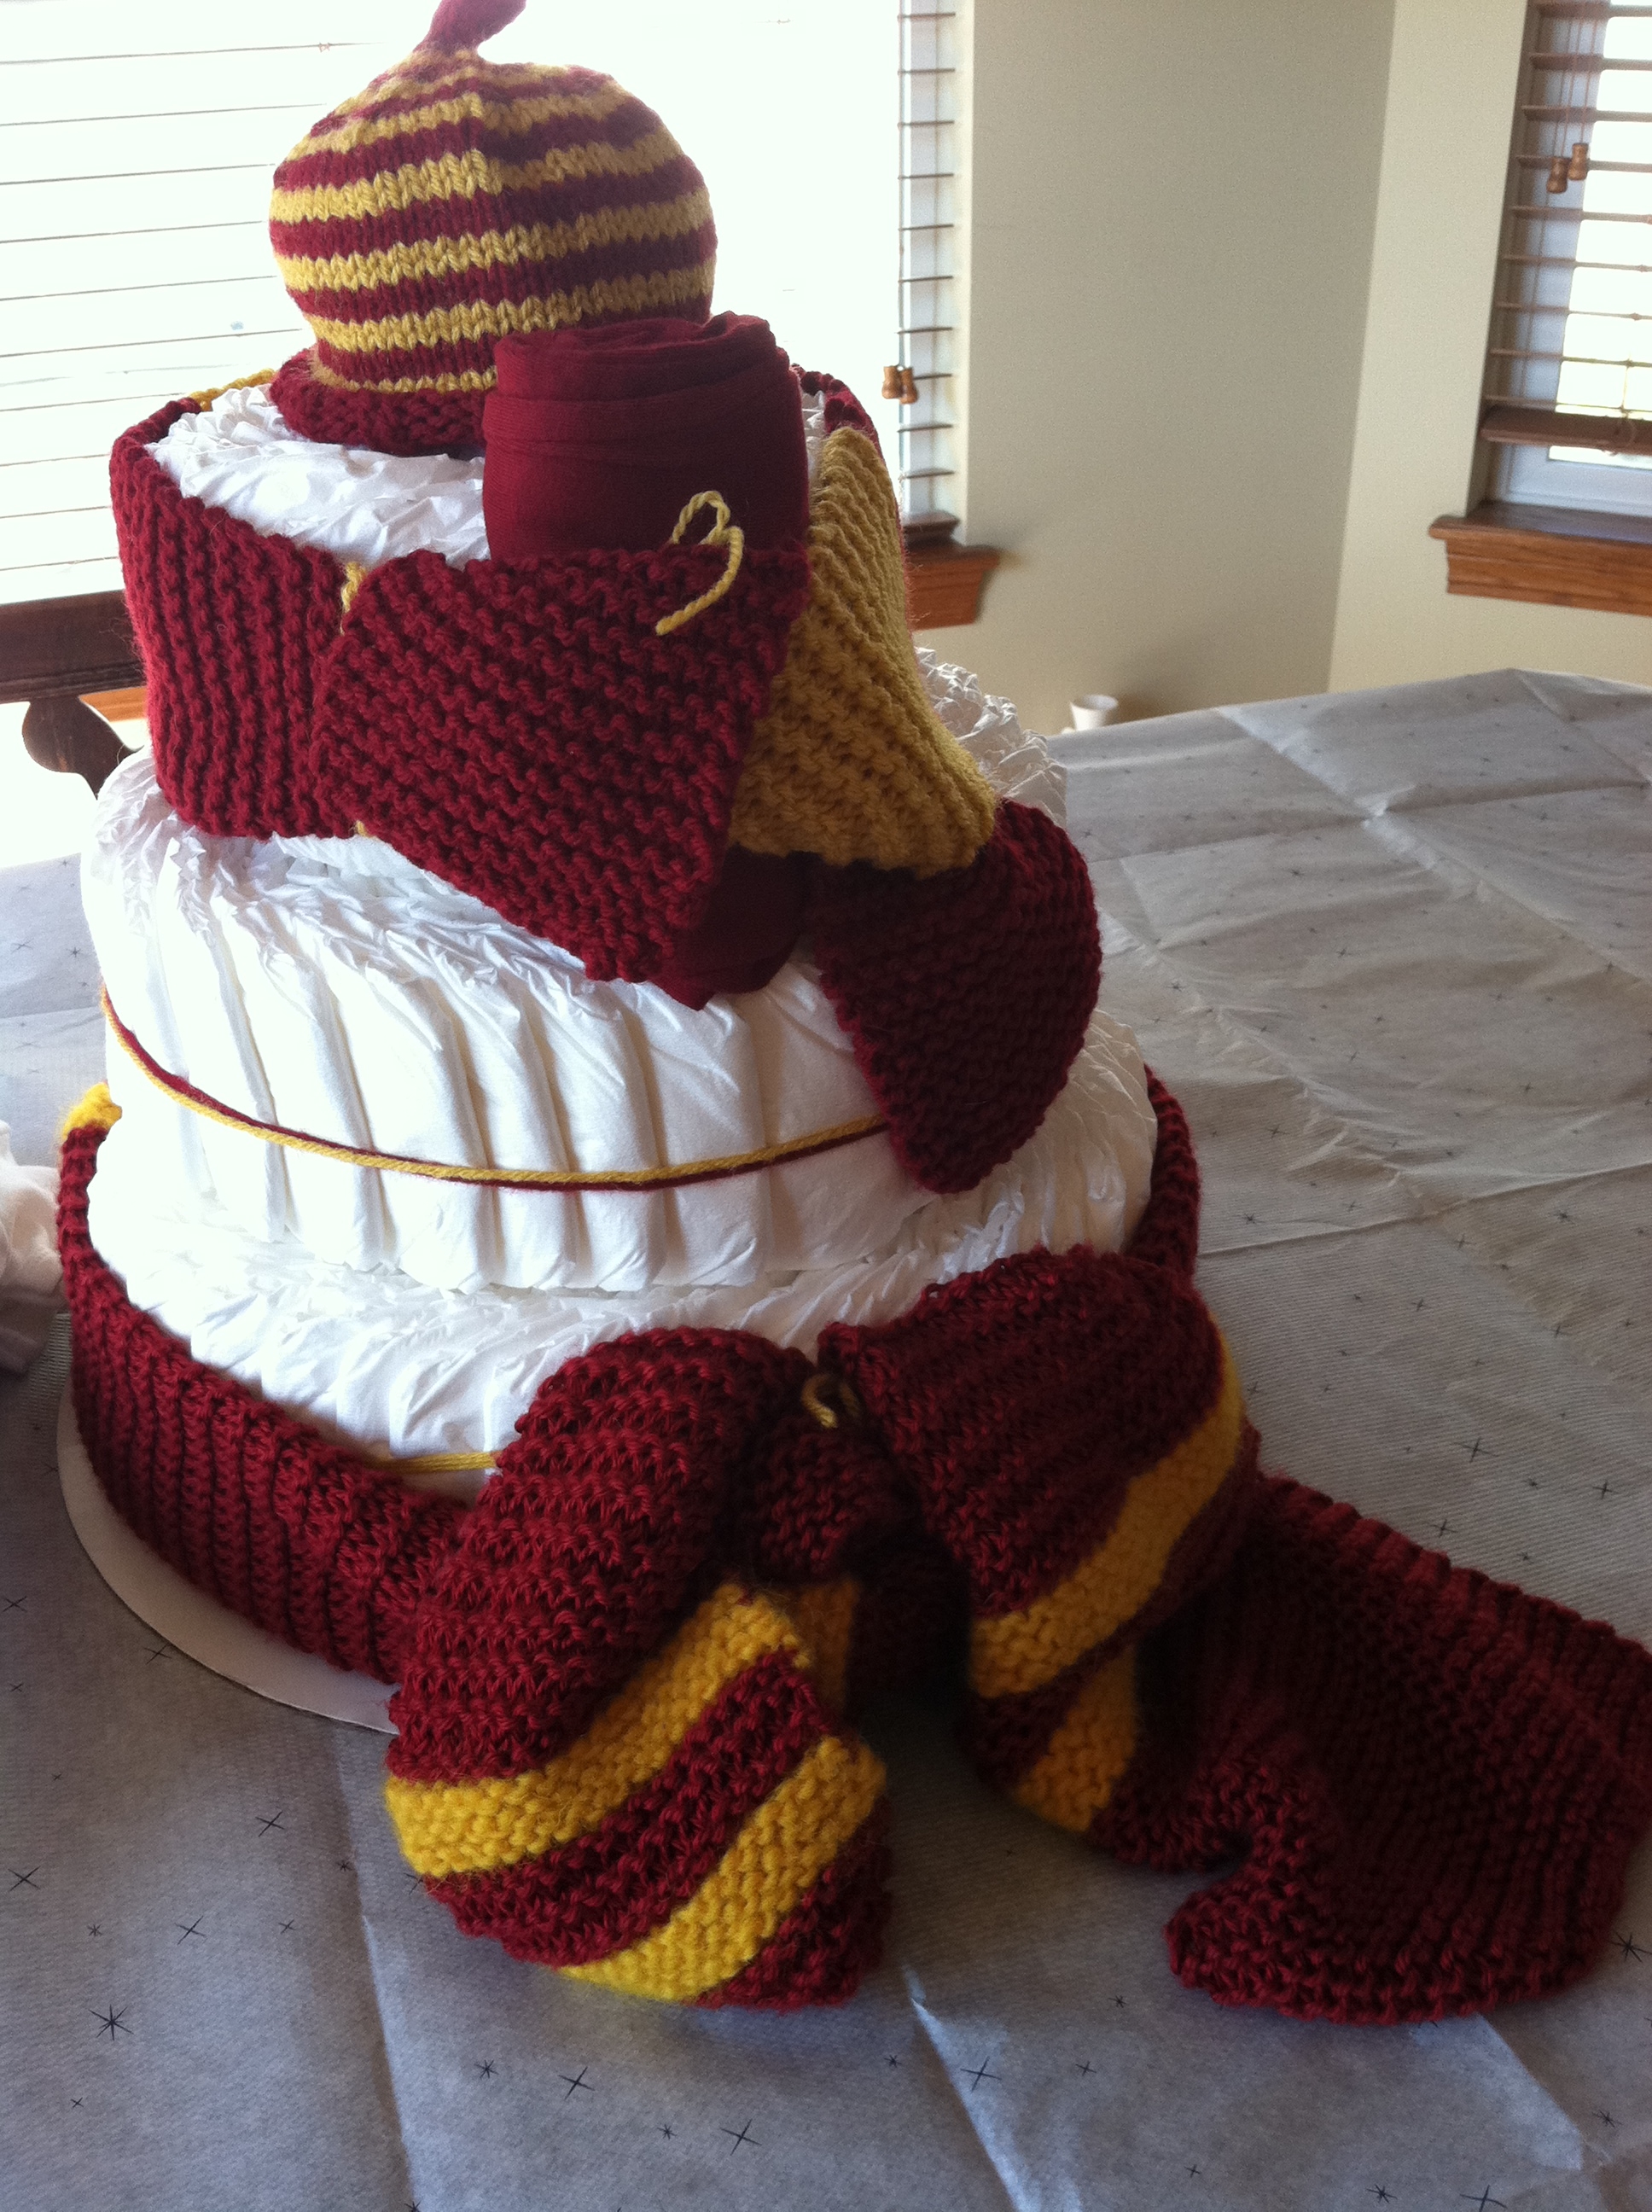
I love my job, wouldn't trade it for any other.  But today, like many others, I would much rather sit around drinking tea, dancing in my kitchen, and sewing all day.  But moving on.  This is supposed to be a summary post; a bridging post; a post to fill you all in on what in the hell we've been doing since any of us posted last; GET. IT. TOGETHER. So this fall has mostly been a craft crash of everyone getting presents ready for christmas.  Jaime I'm sure will give you a full summary once all her gifts have been disbursed and everyone is incredibly happy with their new savvy homemade gift.  She's making everyone's present so I'm sure she's going crazy.  I should probably check on her, make sure she hasn't succumbed.  In the interest of not ruining anyone's christmas glee, I will be vague and only go over the public projects. First we took a christmas stocking class. Through this we learned to do colorwork which I think everyone will agree makes general knitting seem SO MUCH EASIER. The green things are supposed to be dog bones, but clearly it looks more like barbed wire. So we'll run with that.       One of our Harry Potter book club members--yes, we have a book club (we have finished HP and are now on to game of thrones)--one of our members is expecting, so we threw a HP themed baby shower with themed foods, drinks, games, and gifts.  Was the best baby shower I've ever been to. Here's a picture of the diaper cake we created which includes a baby hat, scarf, and shirt, and a scarf for mom. Most recently I visited Chicago, and while it has NOTHING to do with anything here, I'm still using it as an excuse for the severe lack of posting, so here--have a picture! Last but not least, I forced my sig fig to attend the Elk Falls Outhouse Tour. Yes, I couldn't possibly make this up.  (For proof, see http://elkfallsouthousetour.com) There were outhouses placed all over Elk Falls, along with food stops, crafts, and even a quilt show.  For a dollar you got a button, a map, and a ballot.  Absolutely amazing.  I think it may actually become an annual trip for me and it may become a supper club outing as well.  It is the weekend before Thanksgiving every year, and the weather could not have been better this year.  To prove I'm not lying, here's a picture of the winning outhouse. More posts to come on the status of our christmas projects and pictures of the decor as well.  Until then, THERE ARE ONLY 27 DAYS TO CHRISTMAS-GET OFF YOUR ASS!

--Christy